Disassembling the PMP-1xx
Items Needed:
- Small flat-blade screwdriver (1x)
- Small phillips head screwdriver (1x)
- Iriver PMP-1xx (1x)
- Cloth/napkin/towel (1x)
- Flip the PMP over, and then Remove the battery.
- Remove seven (7) screws (black)
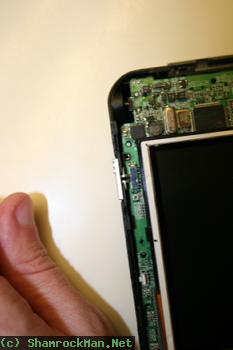
- Insert the flat blade screwdriver between the black
plastic and the silver, on the side without the USB
ports, near one of the corners.
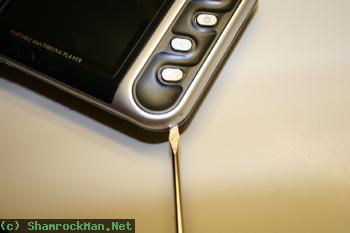
- Twist said screwdriver, moving it around, if you have a
second screwdriver, this is a good time to stick it in the
crack you just opened up.
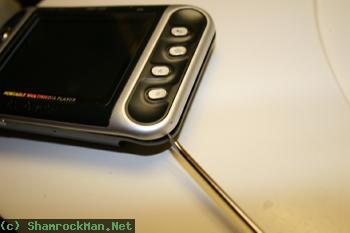
- Repeat process all the way around the PMP.

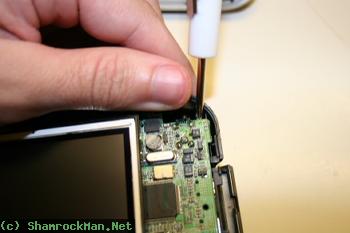
- Remove the strip-wire going to the keyboard on the face
of the PMP. The one on the side with the USB ports is
easest to remove first.
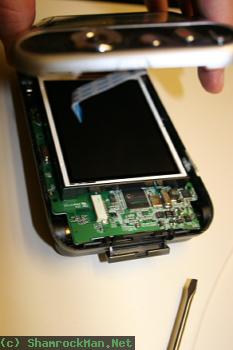
- Remove all five (5) silver screws.
- Move the Selector switch to "HOLD", then remove it
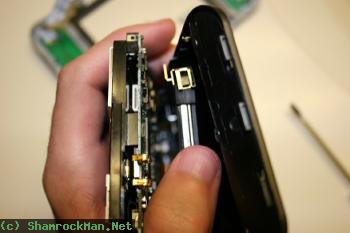
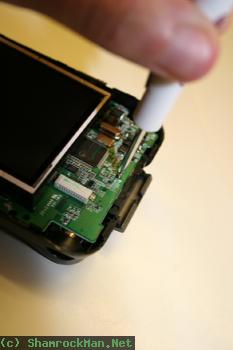
- Now, the tricky part. Gently pry outward on the case of
the PMP near the TV out/Line in plug on the PMP, insert
your screw driver, and carefully pry upwards
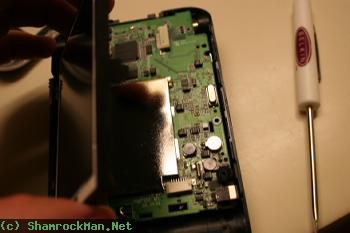
- Lay out your cloth and Flip the PMP upside-down on top
of it, and lift the case away from the PCB/Hard-Drive
assembly
-
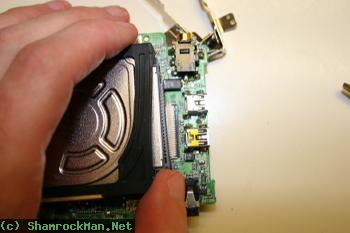
Be very
carefull during this step!!
You could destroy both your hard-drive and the PMP!!
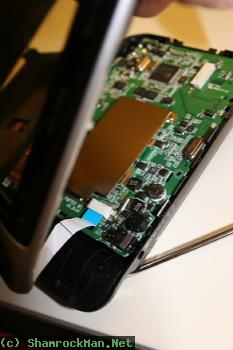
Very Carefully use your thumb to move the HD plug
out, DO NOT move it
completly out, this could bend the pins, making it hard
to reassemble. Repeat on the other side.
Congrats!! You have taken your PMP-1xx Apart!
Putting it back together
- Put the mounting rails back on the HD. Make sure the
hard drive is label side up. You can use tape to
hold them on to make things easier.

- Place the end of the HD assembly plug end out into the
PMP at a angle, make sure you can still see the plugs, on
the hard-drive, and the USB ports on the PMP.

- Place the PCB down ontop of the hard-drive, and plug it
in.

- Push the silver plug corner of the PCB into the case.
Then you can snap the other part in. Also, in this step,
make sure your HD mounting rails are seated properly.
- Put the selector switch back, and while pushing down on
it, move it to "TV out" or "LCD"
- Screw your PMP back together. You just should've
screwed in 5 silver screws.
- Flip the PMP upside-down, and lift the case away from
the PCB/Hard-Drive assembly
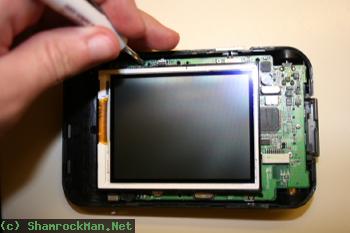
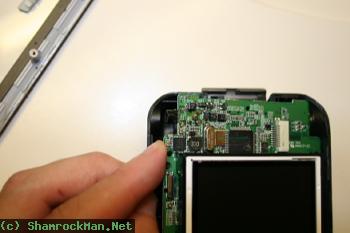
- Remove the LCD panel, do not disconnect the wire going
to it (If not removed). It has 3 conectors that need to be
pried outwards. The last one is by the back of the
panel.

- Connect the far-side keyboard wire
- Snap the LCD back in.
- Connect the remaining Keyboard connector
- Snap the PMP back together
- Screw the PMP back together. You should've just used 7
black screws.
Congrats!! You have put your PMP back together!
Legal stuff: I am in no way resposible for anything that
happens or does not happen.

This work is licensed under a Creative
Commons Attribution-NonCommercial-ShareAlike 2.5 License.